How to Build a Cloche
warm up the garden, get growing faster
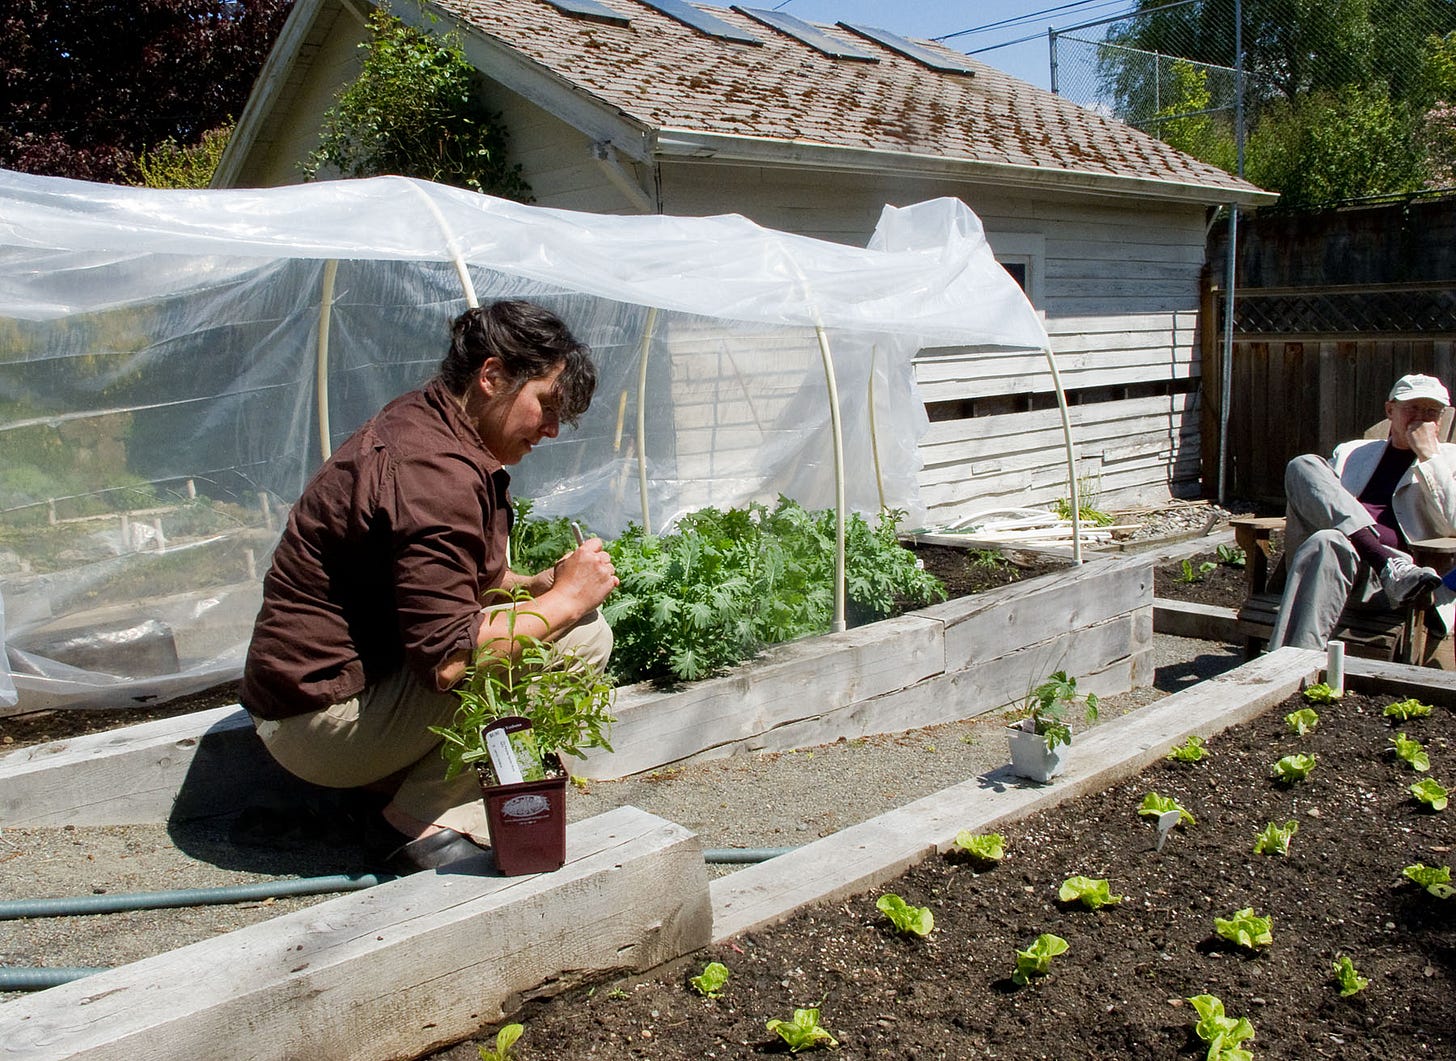
A cloche is a fabulous trick for extending the season. In late winter, cloches allow you to plant out sooner than the last frost date (note for your future self: February 2022) and they create a warm environment in May to help get a jump on summer vegetables.
How to Build A Cloche
Materials
.1 length of 3/4" PVC, cut into 10-12" lengths (most PVC comes in 10' lengths, so you'll have 8 to 10 pieces when you're through. You will use these to anchor your cloche ‘hoops’.)
.2 to 4 lengths of 1/2" PVC - these will act as the 'hoops' on your cloche. These are sold in 10’ lengths and you will need one every 4’ of garden bed space you’re trying ot cover.
.3mm clear plastic sheeting - 1 roll that is 25’ long
.zip ties to secure the cloche
(Note to anyone that doesn’t know their way around the hardware store: PVC is found in the plumbing section of most stores, and the plastic sheeting is in the paint section.)
CREATE THE FOUNDATION
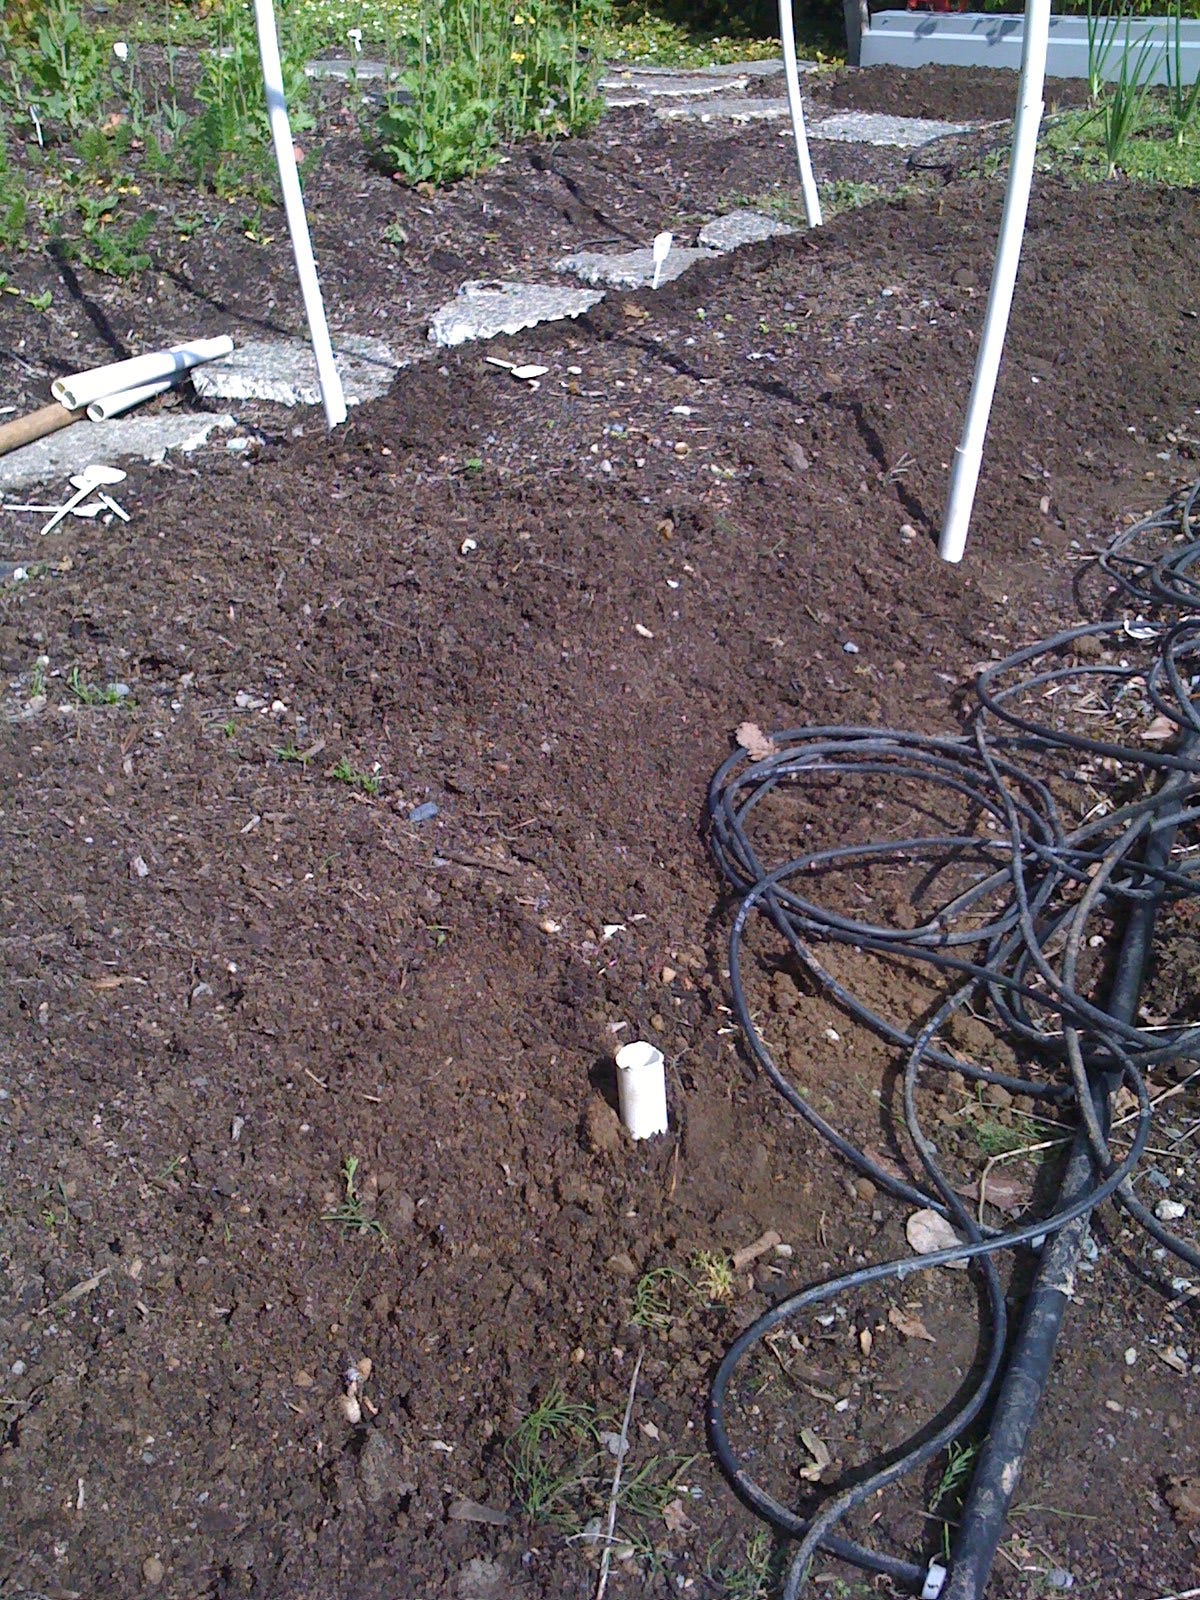
Hammer your 3/4" PVC 'anchors' into each corner of your bed (so, you will use four pieces) until the top of the PVC is just about flush with the soil. Make sure they are secure and firmly in place, as they are the anchors and will act as the main source of support for the cloche. You want them to be stationery.
Add more anchors along the length of the bed, keeping them up against the sides, and adding one every 3 to 4 feet. Make sure that you mirror your anchors on both sides of your bed so that they line up directly across from each other.
CREATE the CLOCHE FRAME
Stretch the 1/2" PVC pipe to fit in the anchors, essentially creating your hoop supports. When you're through, the bed will look like a covered wagon without the canvas.
COVER THE STRUCTURE
From here, unfold the clear plastic sheeting over the top of the hoops, running the length of the bed. Because you’re using 25’ of plastic sheeting, you will need to cut the plastic, but be sure to leave at least a foot of extra plastic on either end of the bed. This allows for some slack, so you can gather the plastic and create a closed environment, thereby locking in heat.
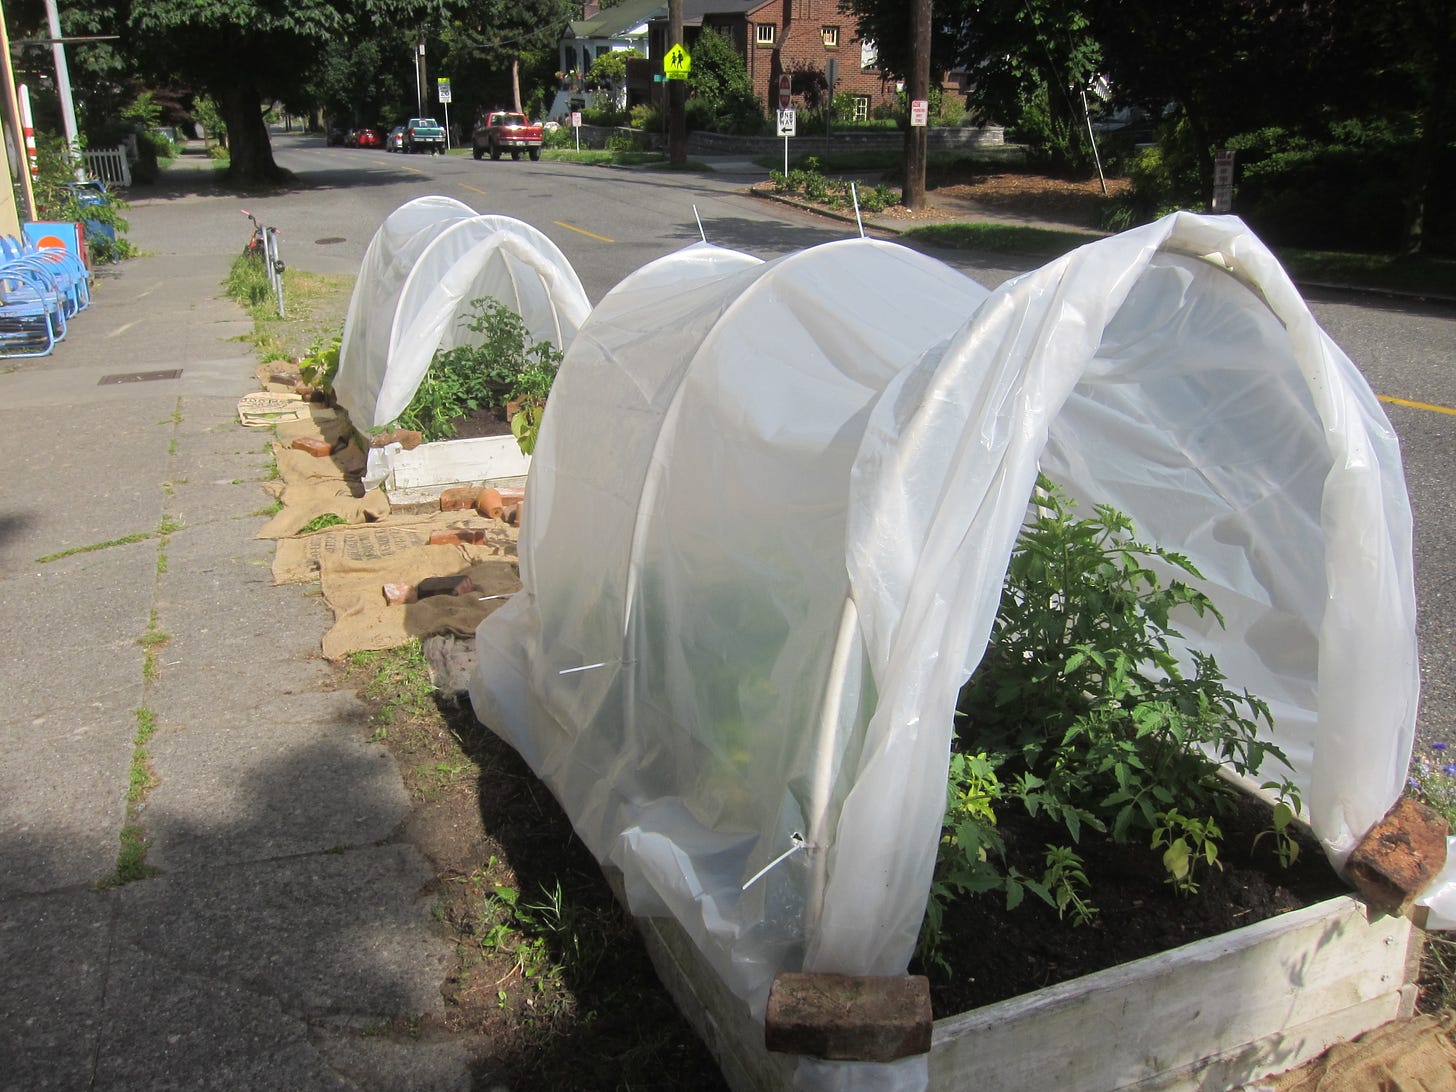
Unfold the plastic down and around the sides of your hoops. Essentially, you're blanketing the bed - tucking in the plastic to the edges and make sure it's covered entirely. This is a good time to warn you not to do this on a windy day. 😉
SECURE THE PLASTIC
Now, you have to secure the plastic sheeting to the hoops so it doesn't blow off. Duh. You can do this several ways. You can use a clip to hold it in place (available at the hardware store), use garbage bag ties, use binder clips etc.
I prefer to use zip ties, as I can leave them a bit loose (as in, don't 'zip' them super snug to the hoop). This allows me to slide the plastic up and down to vent the cloche on really hot days. I pierce the plastic sheeting on either side of the PVC hoop, slide the zip tie through these two holes and zip tie the plastic loosely to the hoop. Voila!
Paid subscribers have a more detailed newsletter on what to grow under cloches all year long, as well as details on what sort of season extension is best for you. Cloches, low tunnels, row cover - there is lots more to learn!
When you're through, your plastic should be reasonably secured to your hoops. Your hoops should be sturdy in their anchors, and you should be able to slide your plastic up and down to water, vent, and access your plants. If you've accomplished all these things, you're money!
Need some tips on what to grow right now?
Happy building!


