
How to Plant Garlic
Alliums are long season crops that needs some love! Here's how to grow your own garlic.

I steered well away from planting garlic for many years in the urban gardens I tend. This crop takes up space, needs consistent fertilization and sits in the garden for a loooonnnggg time - plant garlic in October and you won’t be harvesting until June.
But in gardens that have a fair amount of space, or for those who are blessed with too much land and not enough ideas to fill it - garlic is for you!
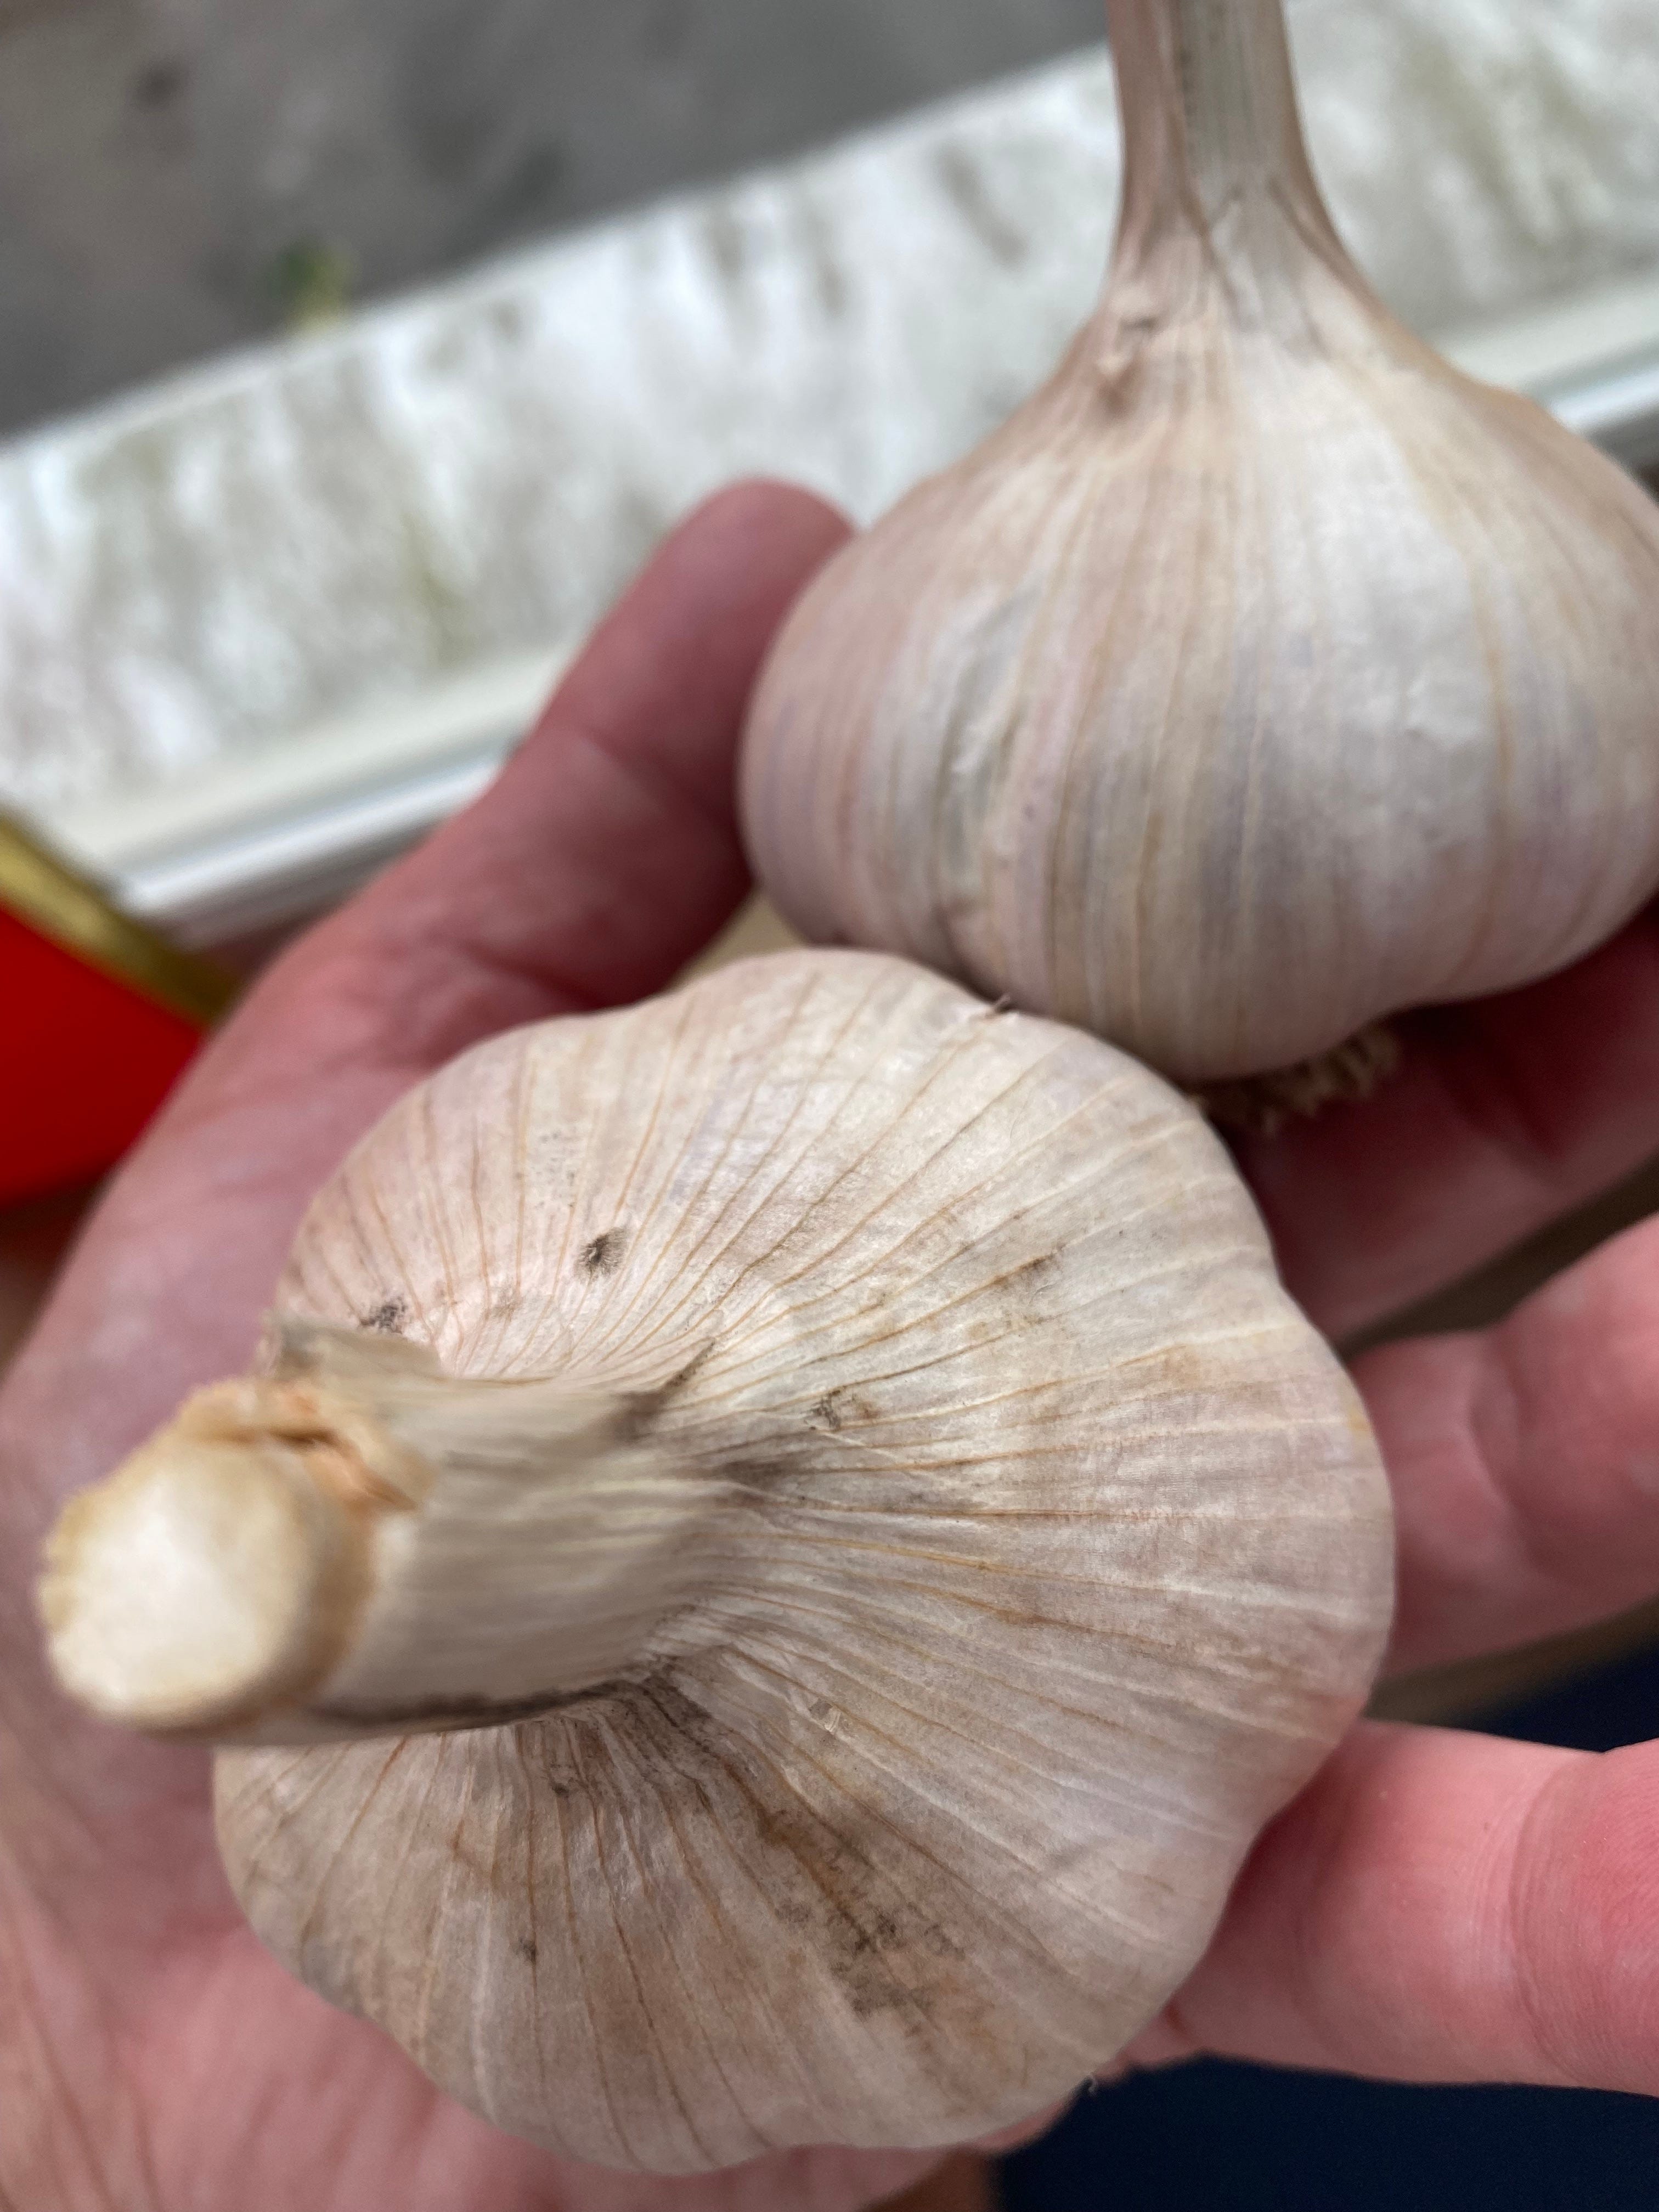
When homegrown, garlic comes in a variety of flavors and textures - often dazzling the eye and the palette. Mature cloves can be big and juicy, or small and sharp; tinted purple or porcelain white.
Garlic keeps for many months once cured aka dried, making it a wonderful crop for storage. I try and grow enough to carry my clients through the autumn and into winter. I plant in October, harvest in June-ish after the tops turn brown, cure them through July and then in August, they’re ready to eat.
If you haven’t already purchased garlic seed, check out Territorial who just got some more in stock. Always good to call your local nursery, as well.
HOW TO PLANT GARLIC
Start with clean soil. This is always step 1, regardless of what you’re planting. The soil should be loose and not compacted. I will often dig in/hoe in a bag of compost for each row of garlic I will plant. This isn’t totally necessary, but its a good best practice, particularly if you’re working in compacted or clay-heavy soil.
Dig a row (I turn my hoe at a 45-degree angle, and draw it across the length of the bed, creating a ditch), about 2-inches deep.
Break apart the garlic head, seperating it into individual cloves and then plant a single clove, root side down (pointed side up) about 3 to 4 inches apart before covering with soil.
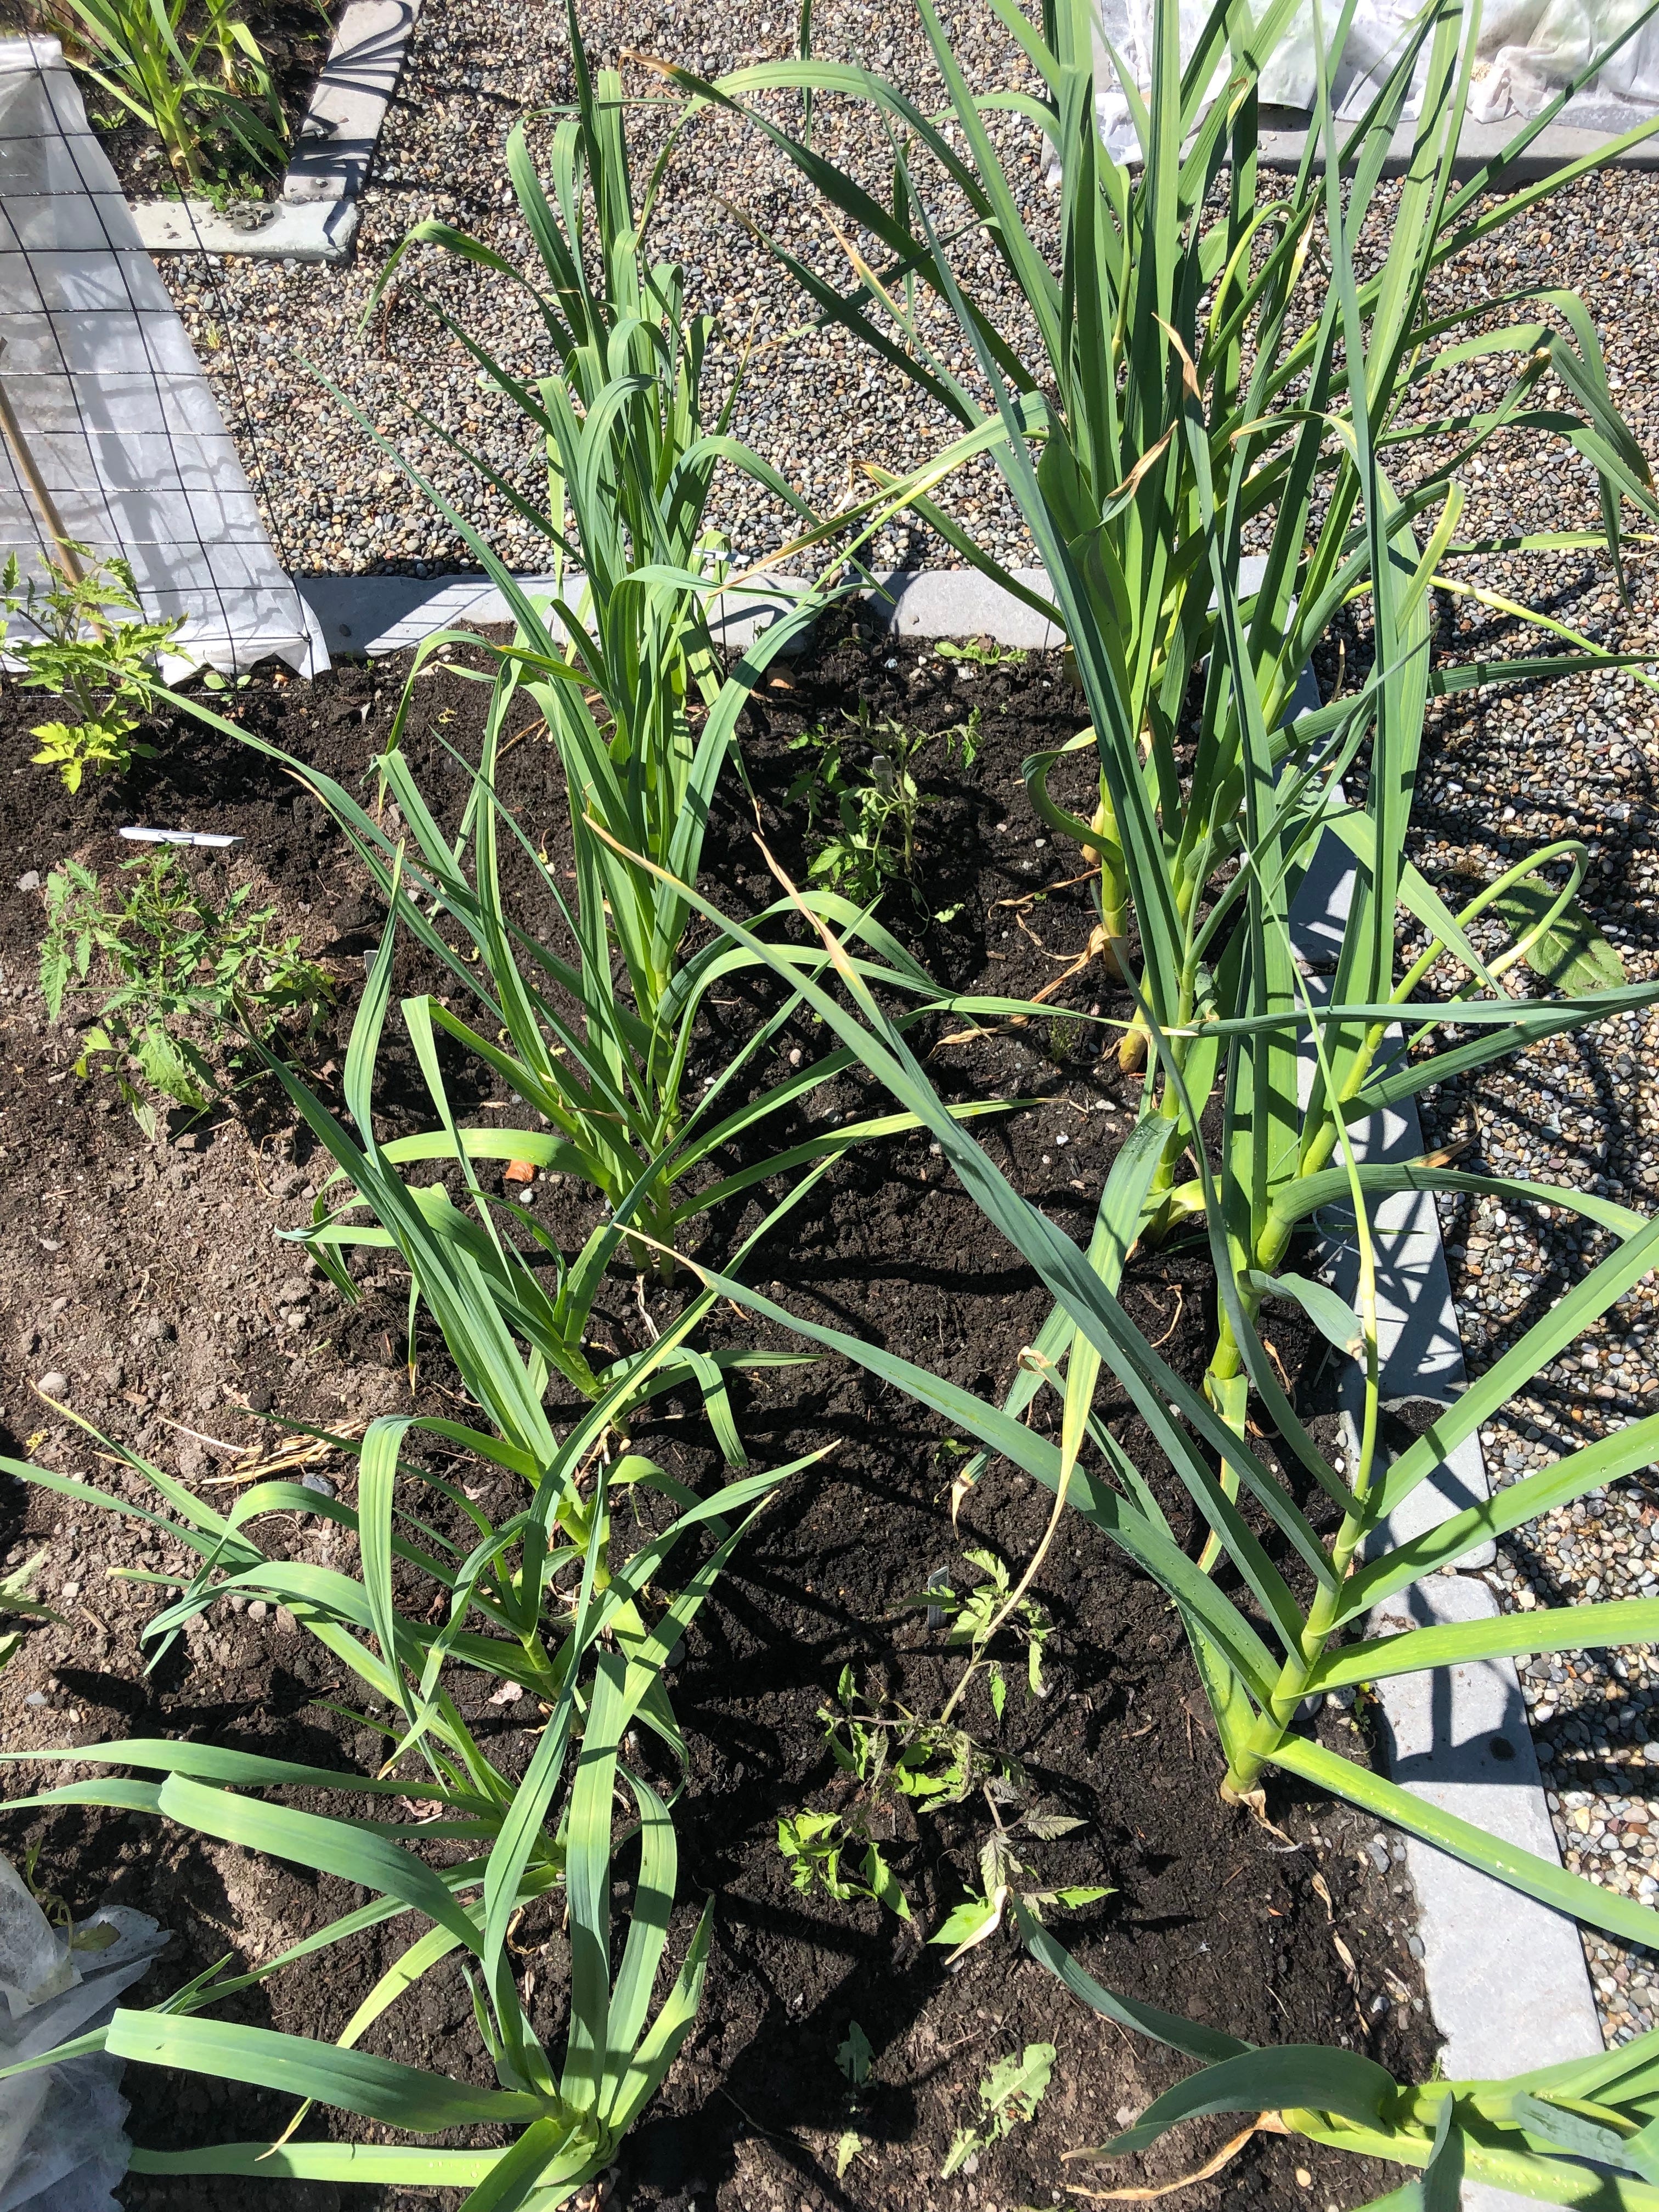
Be sure to plant rows of garlic at least 18” apart. In my urban farms, I plant them along the outside borders of my bed so they don’t get in my way come spring. Keeping them at the edges allows you to work the soil and plant spring crops come March.
Each clove will produce one head of garlic.
WHEN TO FERTILIZE
Garlic, and all alliums really, are considered ‘heavy feeders’. In late February, plan to sidedress* each row with a nitrogen-rich fertilizer, like bloodmeal, adding about 3 tablespoons for every 5-feet of garlic. You can do this again in late April, adding a more complete fertilizer like an all-purpose organic mix.
*Sidedress - sprinkling a thin layer of fertilizer around a plants perimeter.
HARD NECK vs SOFT NECK GARLIC
Hardneck garlics can survive hard winters. They produce a strong, center stalk that produces a garlic scape, or bloom, late in it’s lifecycle. These garlics are generally regarded as having more spiciness and flavor than a softneck garlic.
Softnecks can be grown in a milder winter climate - yea for us, we get to grow them all! Softneck garlics produce more cloves of garlic in each bulb, and are generally bigger than the hard necks. (Though, in my experience the actual garlic cloves are smaller!)
Softneck garlic stores longer than hardnecks - a product of their skins adhereing tightly to the clove. (Tighter skins = less damage from light or dehydration over time.)
Me, personally? I tend to plant hard necks, though for no other reason then they’re the varieties I’m attracted to year after year. I like a purple-tinged garlic and one with big, meaty bulbs.
Try them both!
Garlic-ly Yours,
amy 🧑🏽🌾🧄